
October 8, 2026
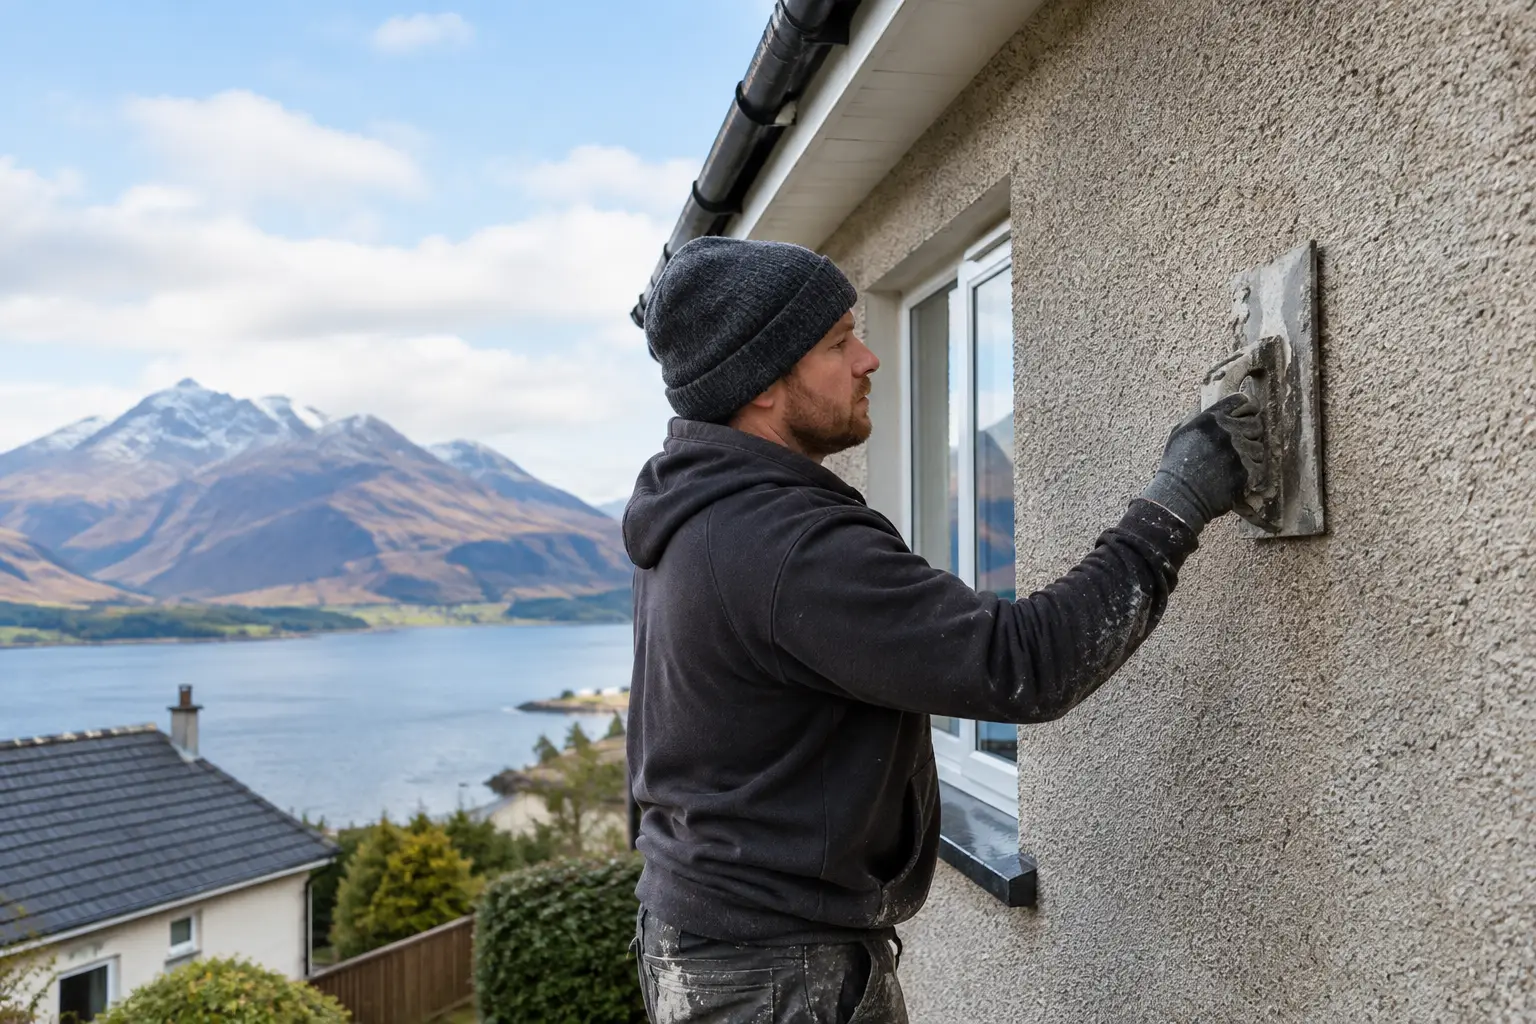
Is roughcasting worth it? See how this durable exterior finish protects Scottish homes, what affects the cost, and whether repair is enough for you...

A damp patch beside a chimney breast, a brown mark on an upstairs ceiling, or a drip that only appears after heavy rain often leads to the same question: why is chimney flashing failing? The chimney may look sound from ground level, but the junction where it meets the roof is one of the most exposed areas of any property. When that weatherproof seal breaks down, rain can find its way into the roof space long before the damage is obvious indoors.
Chimney flashing is not simply a strip of metal around the stack. It is a carefully formed system designed to direct water away from the chimney and back on to the roof covering. In Central Scotland, where persistent rain, wind-driven showers and freeze-thaw conditions are common, this detail has to work hard year after year.
Most chimney flashing problems develop gradually. A small gap, lifted edge or cracked mortar joint allows water in during bad weather. Over time, repeated wetting can damage timbers, insulation, plasterwork and the chimney structure itself.
Traditional lead flashing is usually dressed into joints in the chimney brickwork, often called chases. The joint is then secured and pointed with mortar or a suitable specialist sealant. If this mortar cracks, becomes loose or falls away, the top edge of the flashing can no longer keep water out.
This is particularly common on older chimneys where the mortar has weathered over decades. Frost expands trapped moisture, while strong winds and movement in the roof can worsen existing cracks. Repointing only the visibly damaged section may help in some cases, but the flashing should be checked at the same time. There is little value in renewing mortar if aged lead has split or pulled away beneath it.
Lead is durable and well suited to roofing work, but it is not indestructible. It expands in warm weather and contracts in colder conditions. If it was installed in overly large pieces, fixed too tightly or poorly supported, this natural movement can eventually cause cracking.
Lead can also lift at the edges after years of wind exposure, particularly around taller chimney stacks. Once water is able to get beneath the flashing, it may run along roof timbers or felt before becoming visible inside. This can make the apparent location of a ceiling stain misleading.
Poor-quality replacement materials are another issue. Thin metal, unsuitable flashing products and makeshift repairs may look acceptable initially, but they rarely provide the lifespan or flexibility of correctly installed leadwork.
A chimney flashing repair needs more than a bead of sealant around the base of the stack. The roof covering, flashing and brickwork must overlap in the right order so water always drains outwards.
A proper arrangement may include apron flashing at the front, step flashing along the sides, soakers beneath the slates or tiles, and a back gutter or back flashing behind the chimney. The rear of the stack is especially vulnerable because it receives water running down the roof above it. If this area is undersized, poorly formed or blocked with debris, water can overflow into the roof.
Sealant has a place as part of a professional repair, but it is not a permanent substitute for failed flashing. Smearing mastic over cracked mortar or loose lead can trap water, hide the real fault and make a later repair more difficult. It may buy time during an emergency, but it should not be treated as a long-term solution.
Sometimes the flashing itself is not the original source of the leak. Cracked bricks, open pointing, damaged chimney pots or failed flaunching at the top of the stack can absorb rainwater. That moisture may travel through the masonry and appear around the chimney breast, creating symptoms that look very similar to flashing failure.
A full inspection matters because the repair depends on the cause. A sound flashing detail will not solve water penetration through badly weathered brickwork, just as repointing a stack will not repair a split lead back gutter.
The roof covering immediately beside the chimney is part of the weatherproofing system. A slipped slate, cracked tile or deteriorated underfelt can leave a gap beside the flashing. Water may then be blamed on the chimney when the problem is actually in the adjoining roof area.
This is why chimney repairs should be assessed from the roof where safe access is available, rather than diagnosed solely from a photograph or an internal damp patch. The condition of the surrounding slates or tiles, fixings, valleys and roof felt all help identify the true route of the leak.
A leak around a chimney does not always start with a dramatic ceiling drip. Watch for damp or discoloured patches near the chimney breast, flaking paint, peeling wallpaper, a musty smell in the loft, or dark staining on rafters close to the stack.
Outside, loose mortar, visible gaps around leadwork, raised flashing edges, cracked render, vegetation in chimney joints and missing or uneven slates are all warning signs. White salt deposits on brickwork can also indicate that moisture is moving through the masonry.
If the issue only appears in driving rain from one direction, the side or rear flashing may be at fault. If it occurs after prolonged rain, a blocked back gutter, saturated brickwork or a more gradual water path may be involved. These patterns are useful, but they are not a substitute for inspection.
The right repair depends on the age and condition of the chimney, roof covering and existing leadwork. In a minor case, it may be possible to securely refix a small lifted section and renew failed pointing around the chase. Where the lead is split, too short, badly installed or extensively worn, replacement is usually the better value option.
A professional repair begins by removing loose material and inspecting the surrounding roof. Any broken slates or tiles should be dealt with before new flashing is fitted. Lead is then formed to suit the roof pitch and chimney shape, correctly dressed into the brickwork, and lapped so water sheds naturally down the roof.
Where chimney masonry is deteriorating, repointing, brick replacement or repairs to the flaunching may be needed alongside the leadwork. This can feel like a larger job, but tackling connected defects at once reduces the risk of paying for repeat access and temporary fixes after the next spell of bad weather.
For a very old or unstable chimney, the conversation may also include whether it needs more substantial restoration, partial rebuilding or removal. That decision depends on its structural condition, whether it remains in use, and the role it plays in the property. There is no one-size-fits-all answer.
Water entering around a chimney can remain hidden in the loft or behind plaster for some time. By the time a stain becomes visible, roof timbers may have been repeatedly exposed to moisture. Early action is usually simpler and more affordable than waiting for internal damage, rotten battens or widespread damp to develop.
Avoid climbing on the roof or leaning ladders against a potentially weak chimney. Photograph any visible signs from ground level if you can do so safely, make a note of when the leak appears, and arrange an inspection. For active water ingress, a temporary weatherproofing repair may be sensible while a permanent solution is planned.
Forth Valley Roofing provides practical chimney, leadwork and roof repair assessments for homeowners across Falkirk and the surrounding areas. A clear inspection should explain what has failed, what needs repaired now, and whether any wider chimney or roof work is worth considering.
A chimney does not need to look dramatic to cause trouble. If you have noticed staining, loose lead or weathered mortar around the stack, getting it checked before the next sustained rainfall can protect far more than the roofline.
Is roughcasting worth it? See how this durable exterior finish protects Scottish homes, what affects the cost, and whether repair is enough for you...
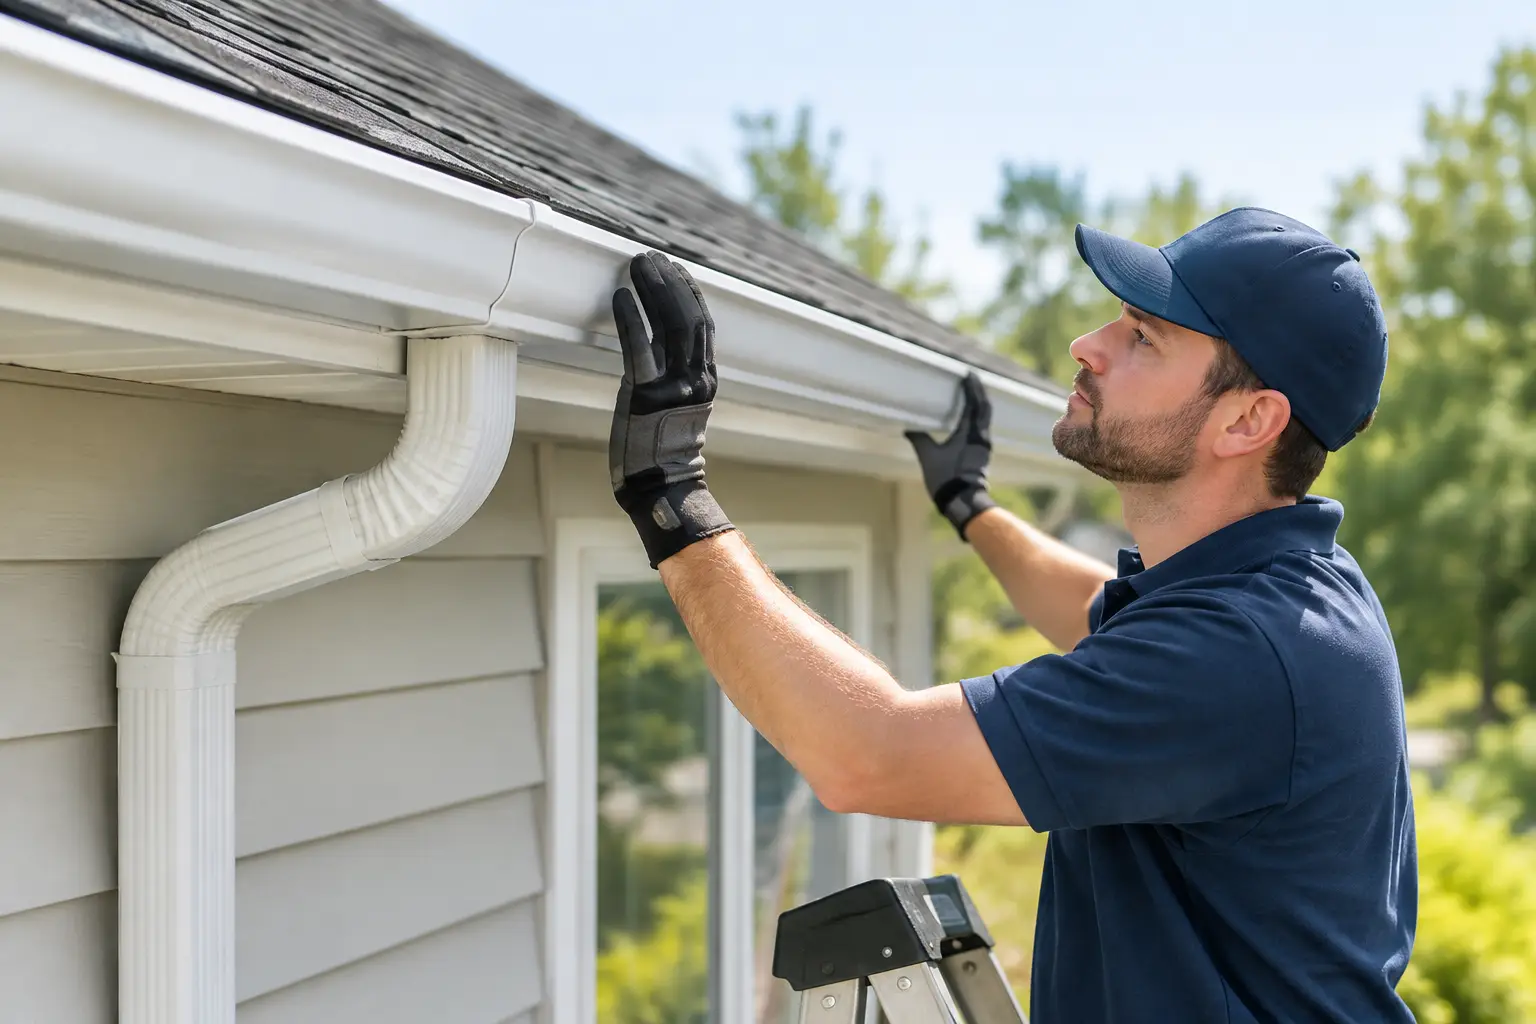
See a gutter replacement project example, from the first inspection to fitting new gutters, and learn what protects a Central Scotland home in winter.

Does roof ventilation reduce condensation? Learn when roof vents help, what causes loft moisture and how to protect your Central Scotland home this winter.