

October 10, 2026
A practical roughcast maintenance guide Scotland homeowners can use to spot damp, cracks and weather damage before repairs become more costly over winter.

A small split in roof felt can turn into a steady leak surprisingly quickly, especially after wind, standing water, or a spell of frost. If you are looking up how to patch roof felt, the main thing to know is this: some repairs are straightforward and worth doing, but only if the felt around the damage is still in decent condition.
On sheds, garages, porches, and some flat roofs, felt is often the first line of defence against water getting into the structure below. Once it lifts, cracks, or blisters, water can track underneath and travel further than most people expect. That is why the patch itself matters, but so does checking what is happening around it.
A patch repair is usually suitable when the damage is localised. That might be a small tear, a puncture, an open joint, or a section where the mineral felt surface has worn through in one area. If the rest of the roof is still firmly bonded and not showing widespread signs of age, a patch can buy you useful time and stop further water getting in.
It is less effective when the felt has become brittle across the whole roof, when multiple seams are failing, or when water has already soaked the deck underneath. In those cases, the visible split is often only part of the problem. You can patch the top, but if the timber beneath is soft or the moisture is trapped below the covering, the repair may not last long.
A lot depends on the age of the roof and how much movement it gets. Garage and extension roofs in Central Scotland take plenty of weather, and repeated freeze-thaw cycles can open up weak points. A neat patch done in the right conditions can hold well. A rushed repair onto damp, dirty felt usually will not.
Before starting, wait for a dry spell. Roof felt repairs need a clean, dry surface to bond properly. If the roof is slippery, steep, or awkward to reach, do not chance it.
Start by inspecting the obvious split or hole, then look at least half a metre around it. Press lightly around the area with your hand or a blunt tool. If the felt feels loose, bubbled, or cracked in several places, a small patch may not be enough. Also look for dips that hold water, as ponding often points to longer-term wear.
If there is any sign that the decking below has gone soft, stop there. A surface patch will not solve rotten substrate.
Brush off grit, moss, dust, and any loose mineral finish. Cut away ragged edges around the tear with a sharp knife so you are working with sound material. The cleaner and flatter the repair area, the better the bond.
If the surface is damp, let it dry fully before carrying on. This is one of the most common reasons felt patches fail. Trapped moisture weakens the adhesive and can lead to bubbling later.
Cut a piece of matching roofing felt large enough to overlap the damaged area by at least 75mm on all sides. On slightly larger repairs, more overlap is usually better. Round off the patch corners rather than leaving sharp angles, as corners are more likely to lift over time.
If you are dealing with a straight split rather than a missing section, it can help to bond the split down first, then apply the patch over the top.
Use a suitable roofing adhesive designed for felt repairs. Spread it evenly beneath the patch area and, where needed, under any lifted edges of the existing felt. Do not overdo it to the point where it squeezes out everywhere, but make sure you have full coverage around the edges.
Press the patch firmly into place, working from the centre outward to remove any trapped air. A small roller is useful if you have one, but steady hand pressure can do the job on minor repairs.
The edge seal matters just as much as the centre bond. Add extra adhesive around the perimeter if needed so the patch lies flat with no gaps. If the patch edge can catch wind-driven rain or frost, it will start to fail from there.
On mineral felt, some repairs also benefit from a protective top dressing or solar reflective coating once cured, depending on the product used. Always follow the manufacturer guidance for drying time and finish.
For most small felt repairs, you will need roofing felt, a compatible bitumen adhesive or repair compound, a brush, a sharp knife, gloves, and a way to apply pressure to the patch. Some people use self-adhesive flashing-style repair strips for very small defects. These can work as a temporary fix, but they are not always the best long-term answer on weathered felt roofs.
If you are patching a larger section, it is worth using proper felt rather than relying on a quick tape repair. The result is normally stronger and more reliable in poor weather.
Most failed felt patches come down to preparation or judgement. The first mistake is repairing in the wet. Even if the top feels nearly dry, residual moisture can stop the patch bonding properly.
The second is making the patch too small. A narrow strip over a split may look tidy, but if it does not extend well into sound material, it will lift. The third is ignoring the surrounding roof. If seams nearby are already opening or the felt is badly crazed, the leak may simply reappear a short distance away.
There is also the issue of patching over trapped air or debris. Any lump under the patch can create a weak spot. Felt repairs need a flat, solid surface and a bit of patience.
Sometimes a patch is the right move because you need to stop water ingress quickly and plan a fuller repair afterwards. That is perfectly reasonable. Not every roof problem needs an immediate full replacement.
But if the roof is nearing the end of its service life, patching becomes a holding measure rather than a proper cure. Repeated repairs on ageing felt can end up costing more than sorting the roof correctly. This is especially true on garages and extensions where older felt has dried out and lost flexibility.
A professional roofer will usually look at three things before advising whether to patch or replace: the condition of the surrounding felt, whether the deck below is still sound, and how much value a repair is likely to give you. Honest advice matters here. There is no benefit in paying for a patch that only lasts one winter.
Even a simple felt repair can become risky if access is poor. Flat roofs are often treated as easy to walk on, but that depends entirely on the structure beneath, the edge protection, and the weather. Felt can be slippery, especially with algae, light rain, or morning frost.
If the roof is above a conservatory, near a fragile edge, or simply not safe to reach with proper equipment, leave it alone. A leak is frustrating, but a fall is far worse. In many cases, the sensible option is to have the roof inspected and repaired properly rather than attempting it from a ladder.
If the leak keeps returning, if the patch area has spread, or if you can see signs of rot, staining, or sagging below, it is time to bring in a professional. The same goes for larger splits, failed joints, or damage around outlets, parapets, flashings, and roof edges where detailing matters more.
For homeowners and landlords, the biggest advantage of expert repair is not just the patch itself. It is knowing whether the roof still has useful life left, whether there is hidden water damage, and whether a more durable repair method would save money over time. A local firm such as Forth Valley Roofing will also understand the sort of weather exposure roofs in this part of Scotland deal with year after year.
If you are weighing up how to patch roof felt yourself, be realistic about the condition of the whole roof, not just the bit that is leaking. A well-done patch can be a practical fix. A poor one usually just delays the proper job and gives water more time to do damage.
A practical roughcast maintenance guide Scotland homeowners can use to spot damp, cracks and weather damage before repairs become more costly over winter.
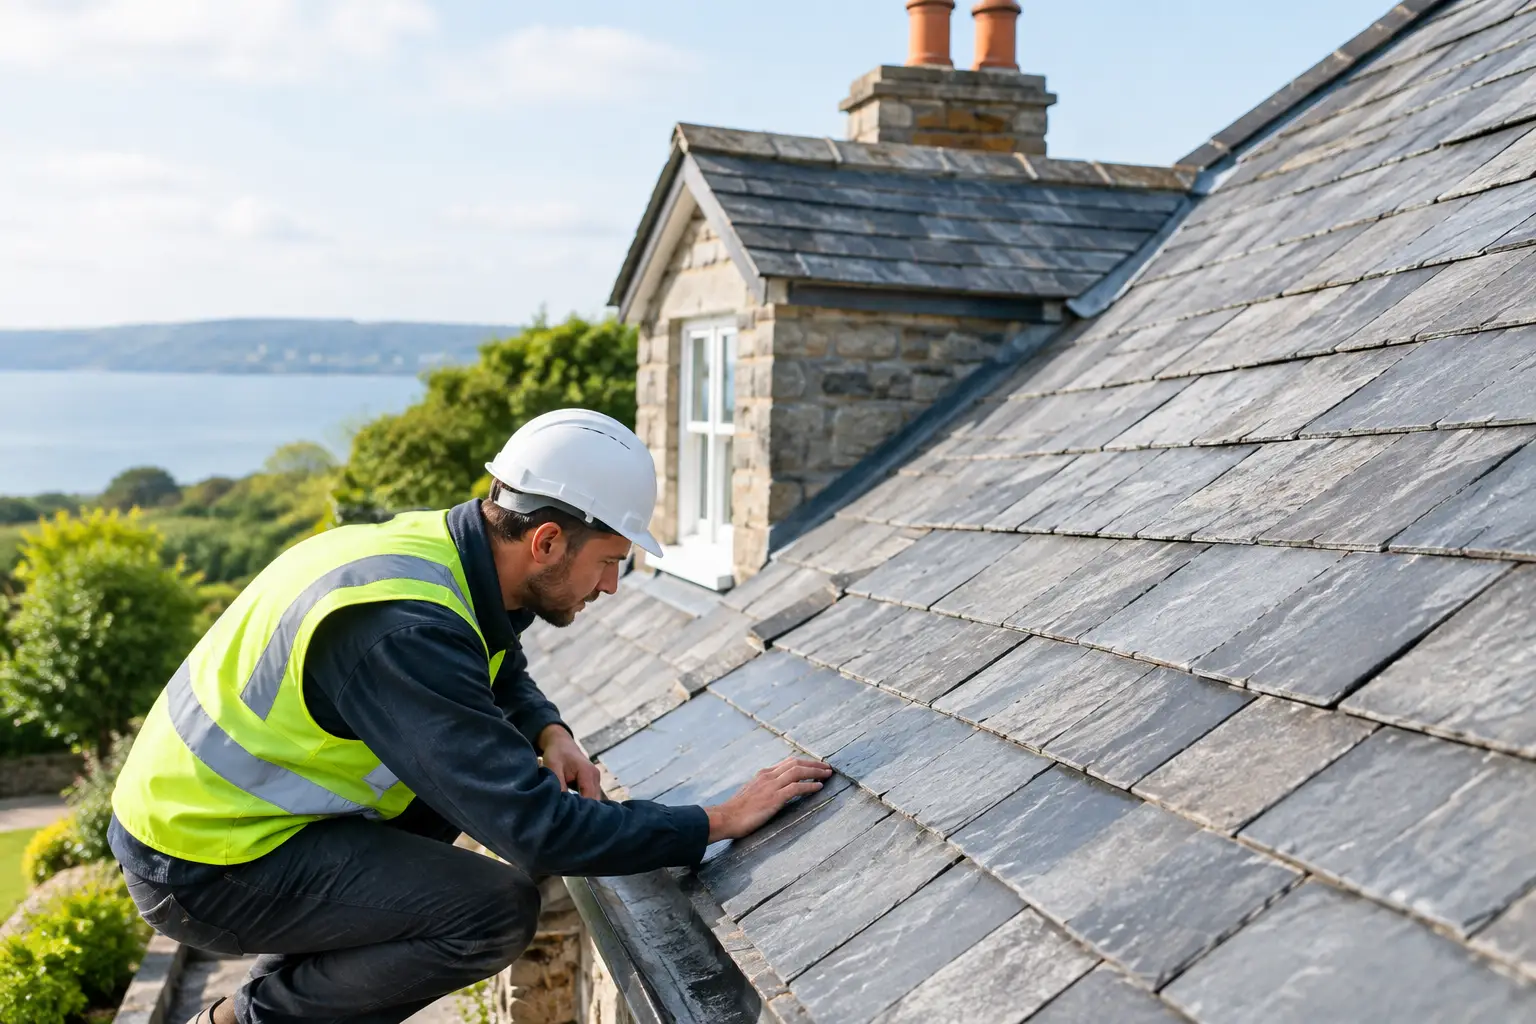
Learn how to assess heritage slate roofs, plan sympathetic repairs and protect a Central Scotland property from leaks, storm damage and costly disruption.
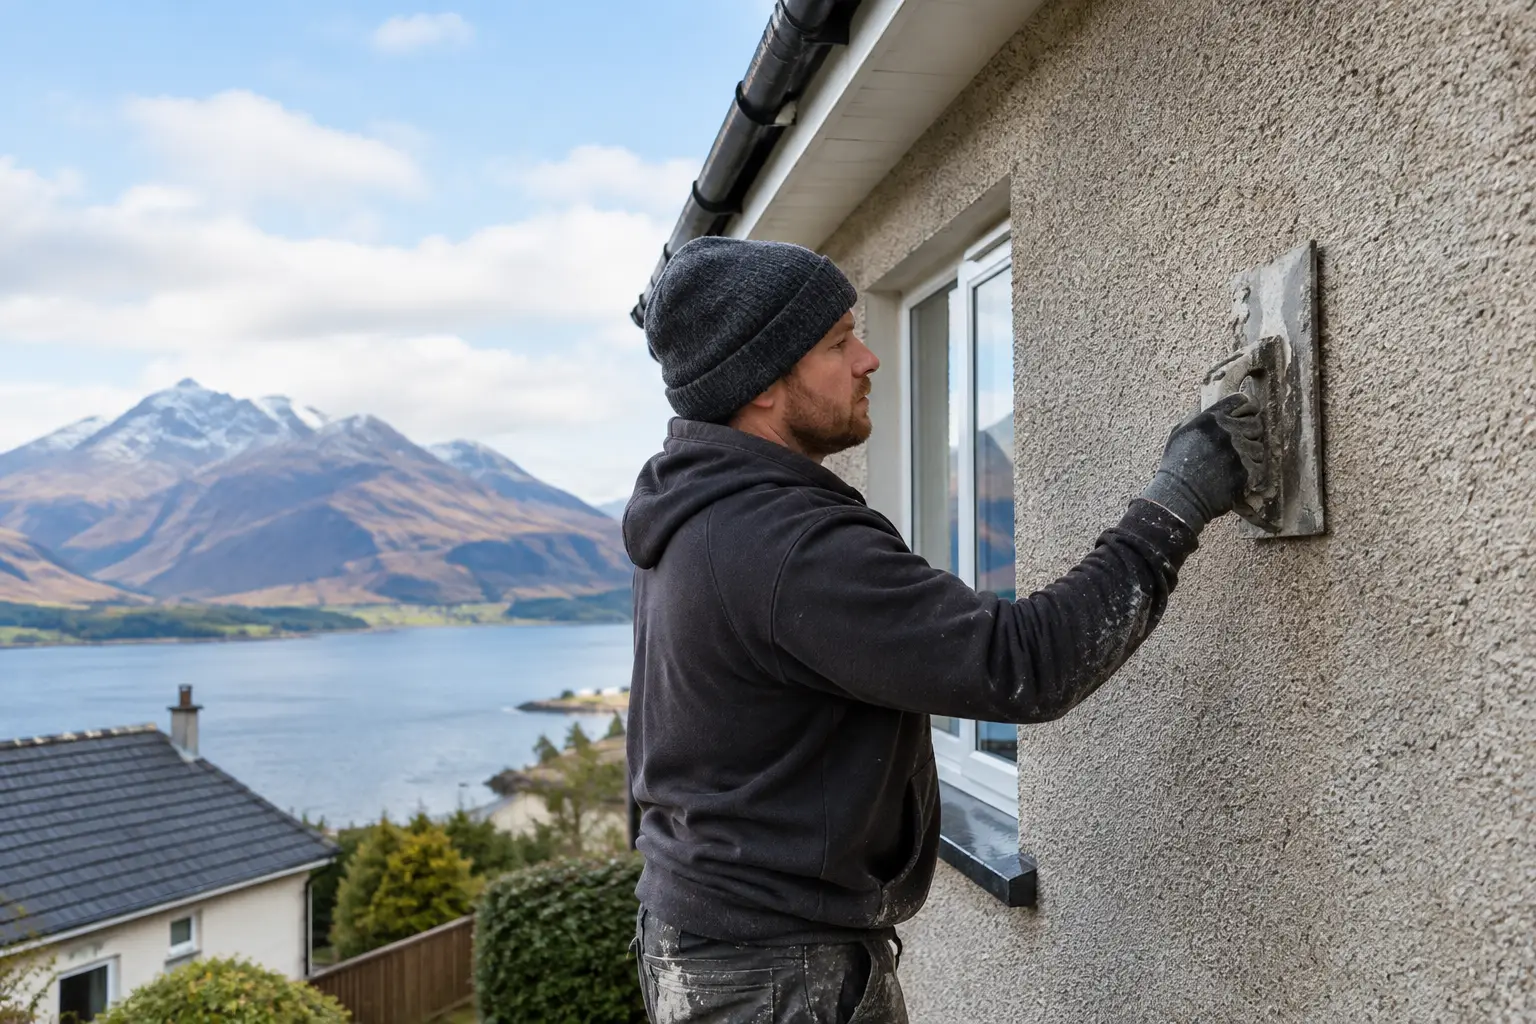
Is roughcasting worth it? See how this durable exterior finish protects Scottish homes, what affects the cost, and whether repair is enough for you...